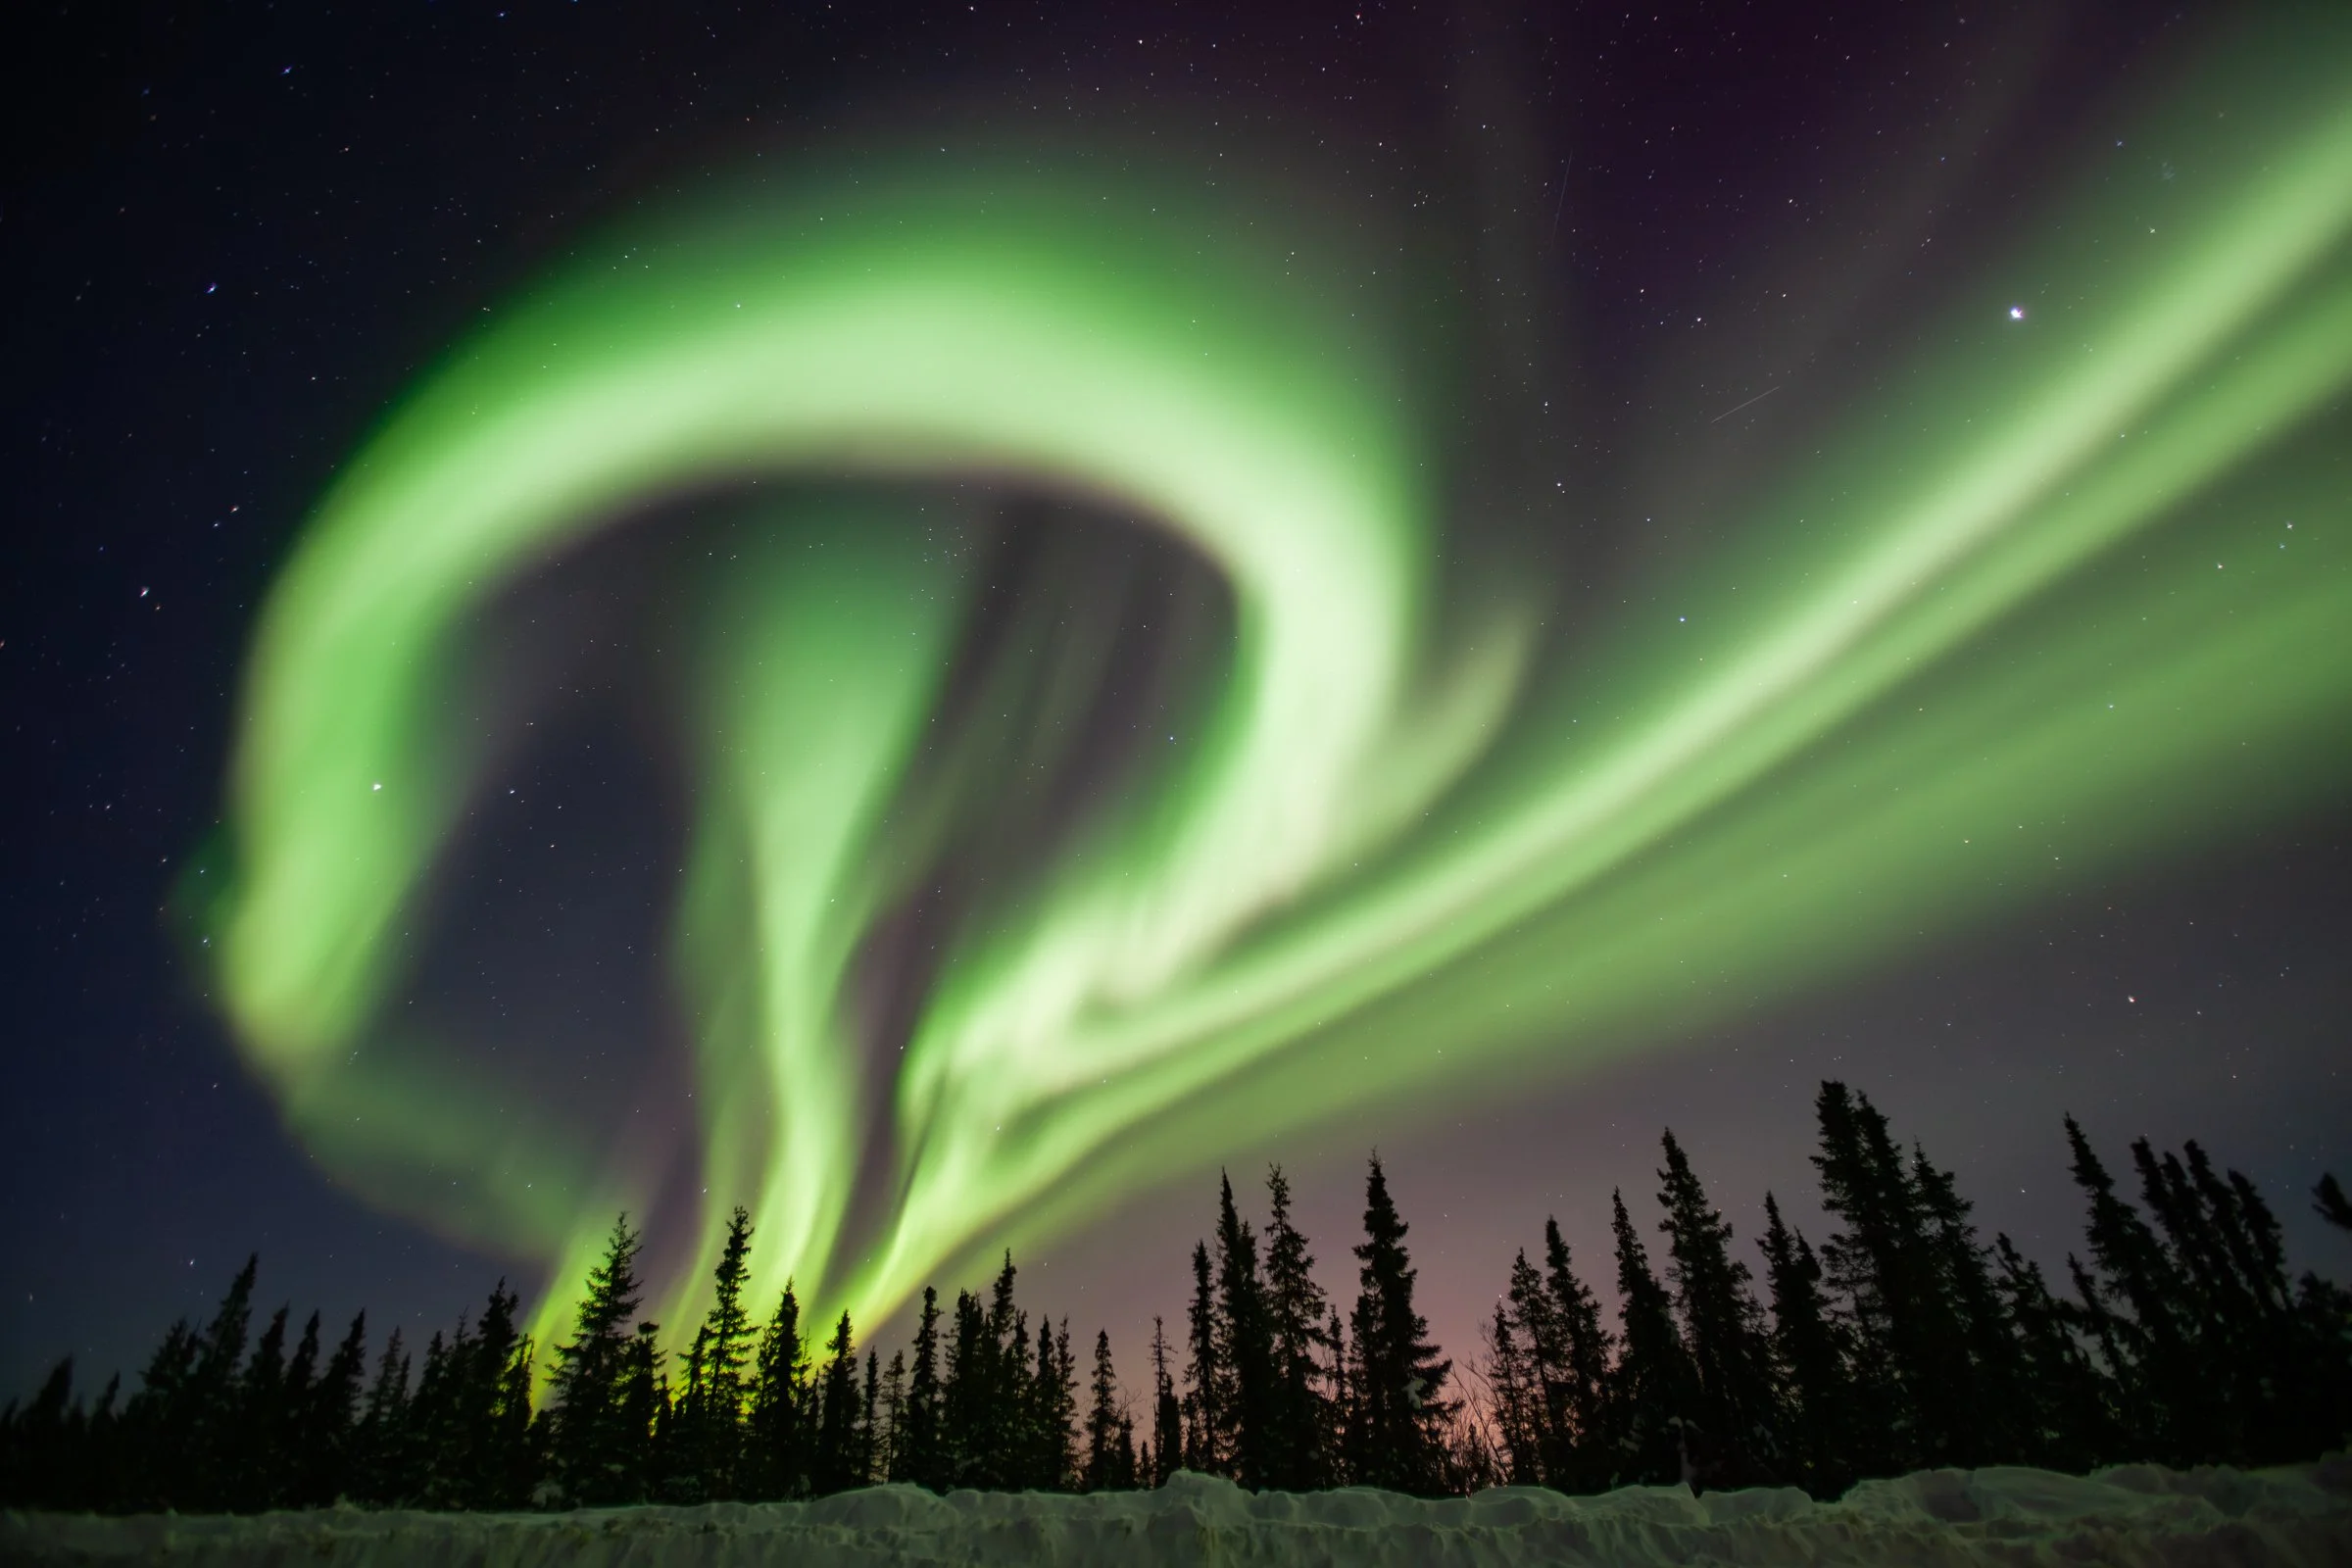
How to Photograph the
Northern Lights
From essential equipment tips to mastering exposure settings, this guide is designed to enhance your experience under the aurora-filled skies.
Equipment Needed
Camera: A significant contrast exists between a full-frame sensor and a smaller one. Generally, the smaller the sensor, the lower the quality. Full-frame cameras boast larger pixels, enabling better light capture.
If you are using a full frame sensor, we recommend a focal length between 14mm and 40 mm. If it is a cropped sensor, we recommend between 10mm and 40 mm.
Lens: Speed matters. We advise opting for a minimum aperture of f/2.8 or faster. This creates a wide opening, allowing more light to reach the sensor. With increased light sensitivity, you can utilize a lower ISO setting, enhancing overall quality.
Batteries: It is advisable to carry additional batteries, as cold temperatures tend to deplete them more rapidly.
Cable Release: In night photography, where light is scarce, longer exposures are essential for properly exposed shots. However, pressing the shutter button directly can cause significant camera shake, especially during lengthy exposures. To mitigate this issue, we strongly suggest using a cable release to trigger the shutter without disturbing the camera.
If you do not have a cable release you can use the timer on your camera. Either way, you should not be touching the camera.
Tripod: A steady tripod is critical as you will be taking long exposures.
Gloves: It is important to have good gloves in the cold temperatures.
Preparing Your Camera
Focusing: In low-light conditions, autofocus may struggle to perform effectively. It is advisable to disable autofocus and manually focus instead. Nighttime focusing can be challenging, particularly with age.
After achieving focus, it is crucial to periodically review your images. Accidental adjustments to the focus ring can occur easily. Take the time to examine your images on the LCD screen, zooming in on the stars to ensure precise focus.
Shoot in Raw: Shooting in RAW format is preferable to JPEG because it offers greater editing control, higher image quality, non-destructive editing capabilities, flexibility in adjusting white balance, and future-proofing potential.
Exposure
Mode: To properly expose for the Aurora, it is important to use the correct setting. The camera need to be set in Manual Mode (M)
Aperture: It is advisable to keep the aperture wide open. Depth of field is not crucial when your subject is distant, and a wide-open lens enables the fastest shutter speed possible (though it may still be relatively slow). For instance, if your wide-angle lens has an aperture of f/2.8, that should be your chosen f-stop.
Your goal is to capture as much light as possible in the least amount of time (shutter speed).
Tip: the faster the lens the better. Try and use an aperture of 2.8 or lower.
Shutter speed: Time is of the essence. The longer your shutter is open the more blurred the aurora gets. I like my exposure to be less than 20 seconds to keep detail in the aurora. If I take a picture and it is too dark, I will need to increase the ISO.
The speed of the aurora dictates the necessary shutter speed. For faster-moving auroras, a higher shutter speed is required; typically, I prefer not to exceed 7 seconds. However, for slower-moving auroras, shutter speeds below 20 seconds are generally acceptable.
The aurora varies in brightness so you will constantly need to change your shutter speed.
ISO: Adjustments are necessary as the intensity of the Aurora changes. If your image appears too dark even at 15 seconds, consider increasing the ISO. Conversely, if it appears overly bright, decrease the ISO. Keep in mind that higher ISO settings can introduce more noise, so finding the optimal balance between shutter speed and ISO is crucial.
I usually test around 3200 ISO as my baseline.
Shutter speed and ISO are grouped together. If you change one you may need to change the other since they affect each other.
Histogram: It is essential to consistently monitor your histogram to prevent highlight clipping. In night photography, your histogram will typically lean towards the left. Ensure that you avoid clipping the blacks, but even more critical is avoiding clipping the highlights.
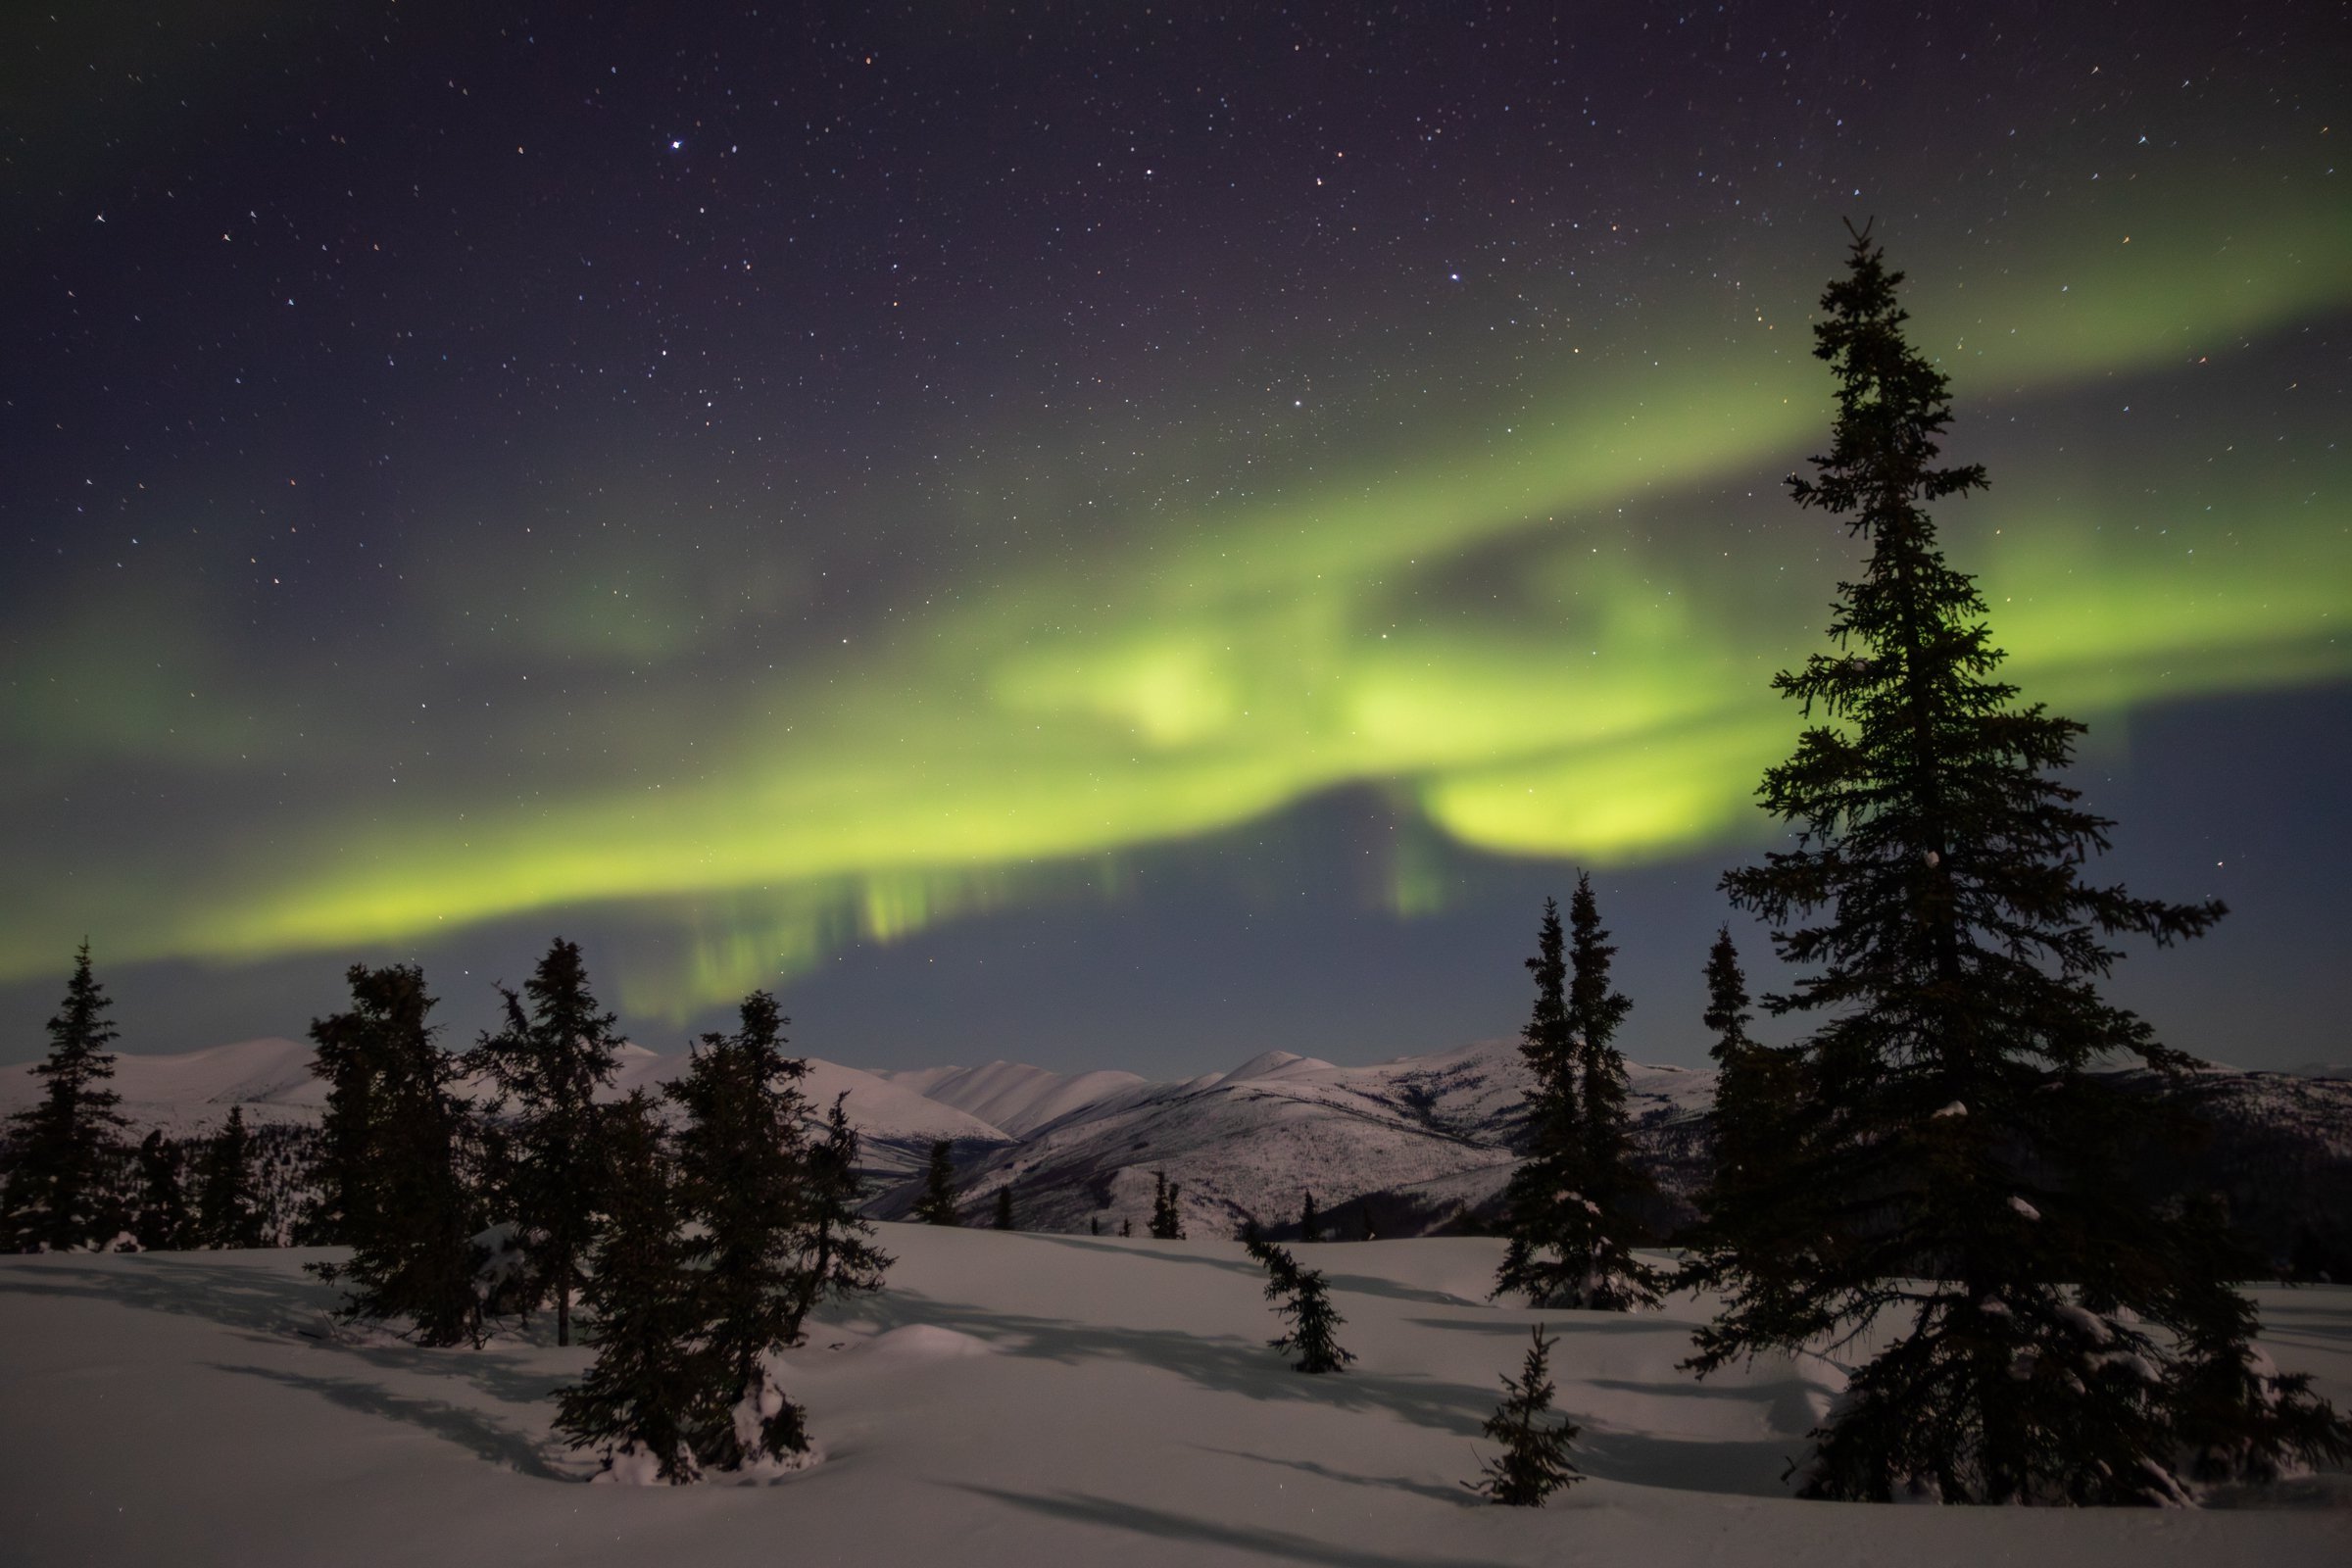
Conclusion
We hope you get to see the incredible northern lights. After many years of guiding aurora photo tours and workshops, it remains a source of excitement for us to capture and experience. Witnessing people's reactions, filled with celebration and deep emotion, adds an extra layer of joy. It's an extraordinary experience that will remain etched in your memory forever.
One Company. Two Paths to Wild Beauty.
Discover unforgettable North America nature photography tours led by one expert team, offered through two specialized websites—each designed to deliver the most immersive, location-specific experience possible.
Explore Alaska Adventures offers exclusive Alaska photo tours, including private yacht expeditions, remote bear photography, and glacier landscapes perfect for dramatic wildlife and nature shots.
Slonina Nature Photography specializes in award-winning photography workshops across North America’s most iconic national parks and wilderness areas, including Yellowstone, the Canadian Rockies, and other bucket-list destinations for landscape and wildlife photography.
One team. One mission. Two websites. Start your next nature photography adventure today.